How To: Improve Your Battery Life on Android with Granular Power Controls
No matter how far technology advances, battery life continues to be an issue. Powerful new hardware is introduced each year, but smartphone batteries only get a few extra milliamp-hours to compensate.There are several power-saving Android apps that aim to help with this issue, but very few offer anything more than a placebo effect. However, a new Xposed module from developer Pyler is the real deal, marking one of the first true all-in-one battery saving apps with granular controls—something you'll likely never see on iPhones.The module works a lot like Sony's Stamina Mode in some ways, but it can also function on a per-app basis to help you tame battery-hogging apps like Facebook. In addition to all of that, it can even enable Doze Mode a lot faster, so it's already one of the best battery savers out there.
Requirementsrooted Android device Xposed Framework installed "Unknown sources" enabled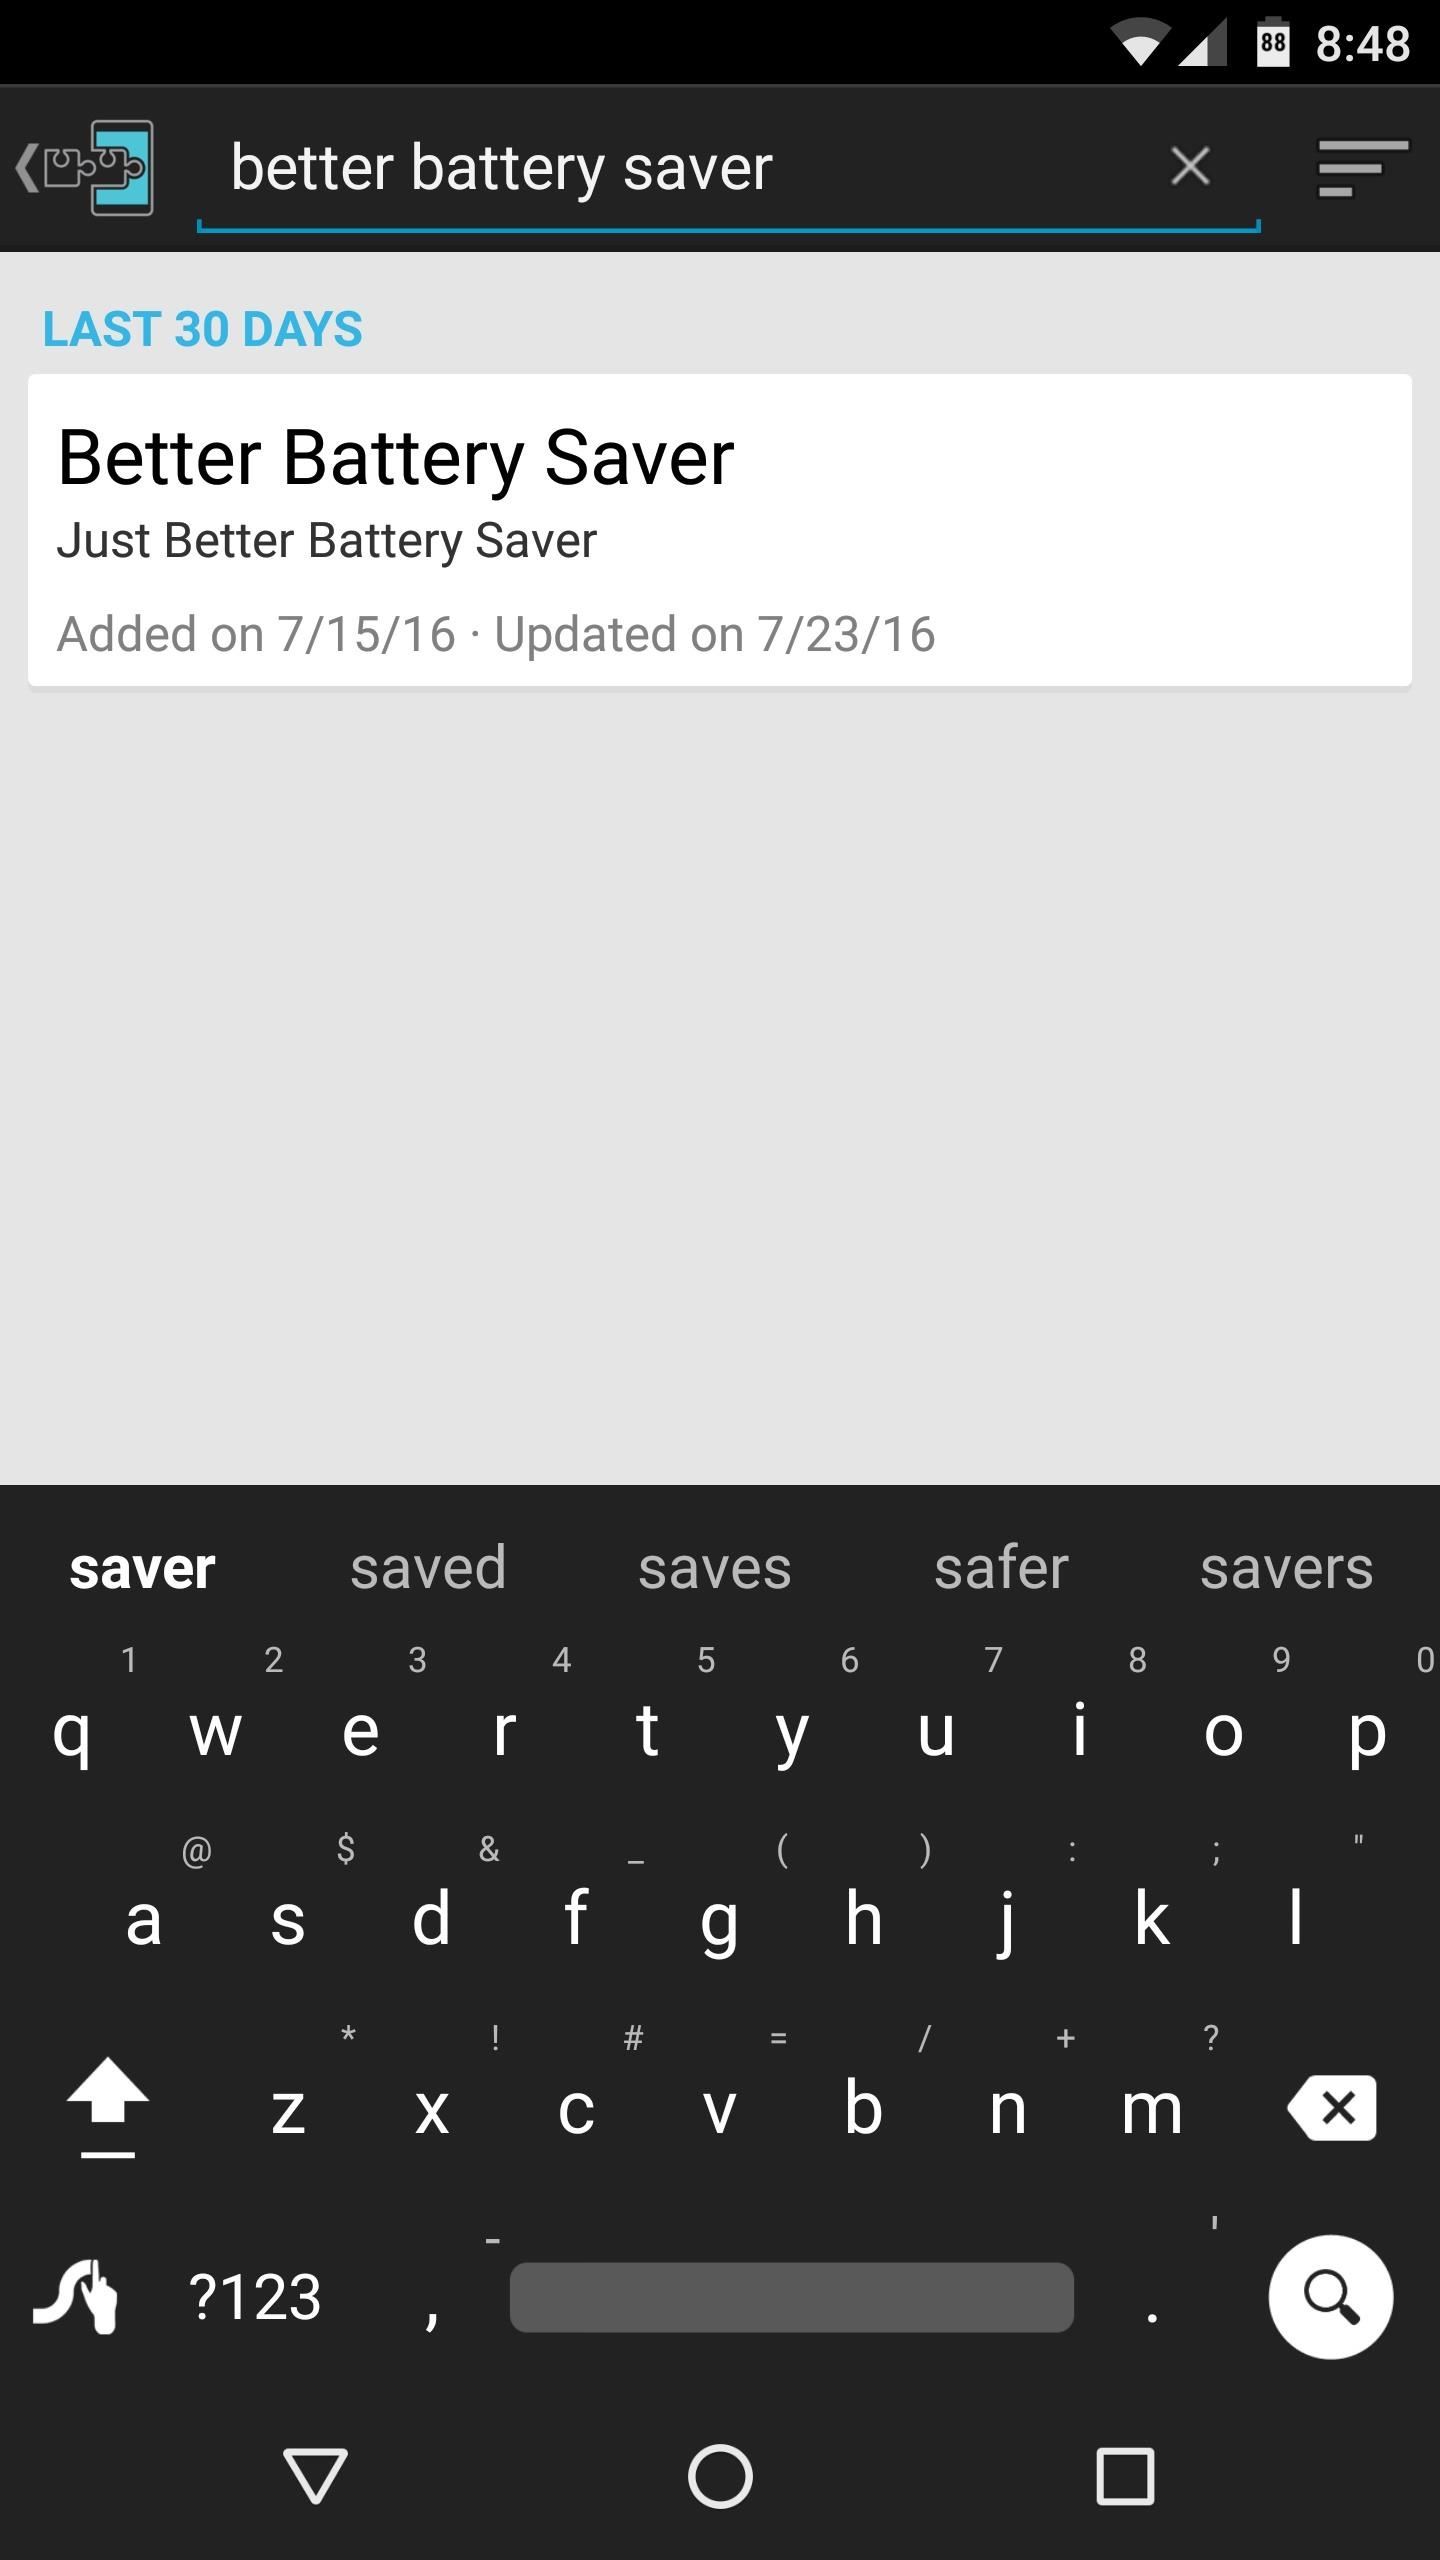
Step 1: Install Better Battery SaverTo get this one going, start by heading to the Download section in your Xposed Installer app, then search for Better Battery Saver, and tap the top result. From here, swipe over to the Versions tab, then hit the "Download" button next to the most recent entry, and press "Install" when prompted. Once that's finished, be sure to activate the module and reboot so that your changes will take effect.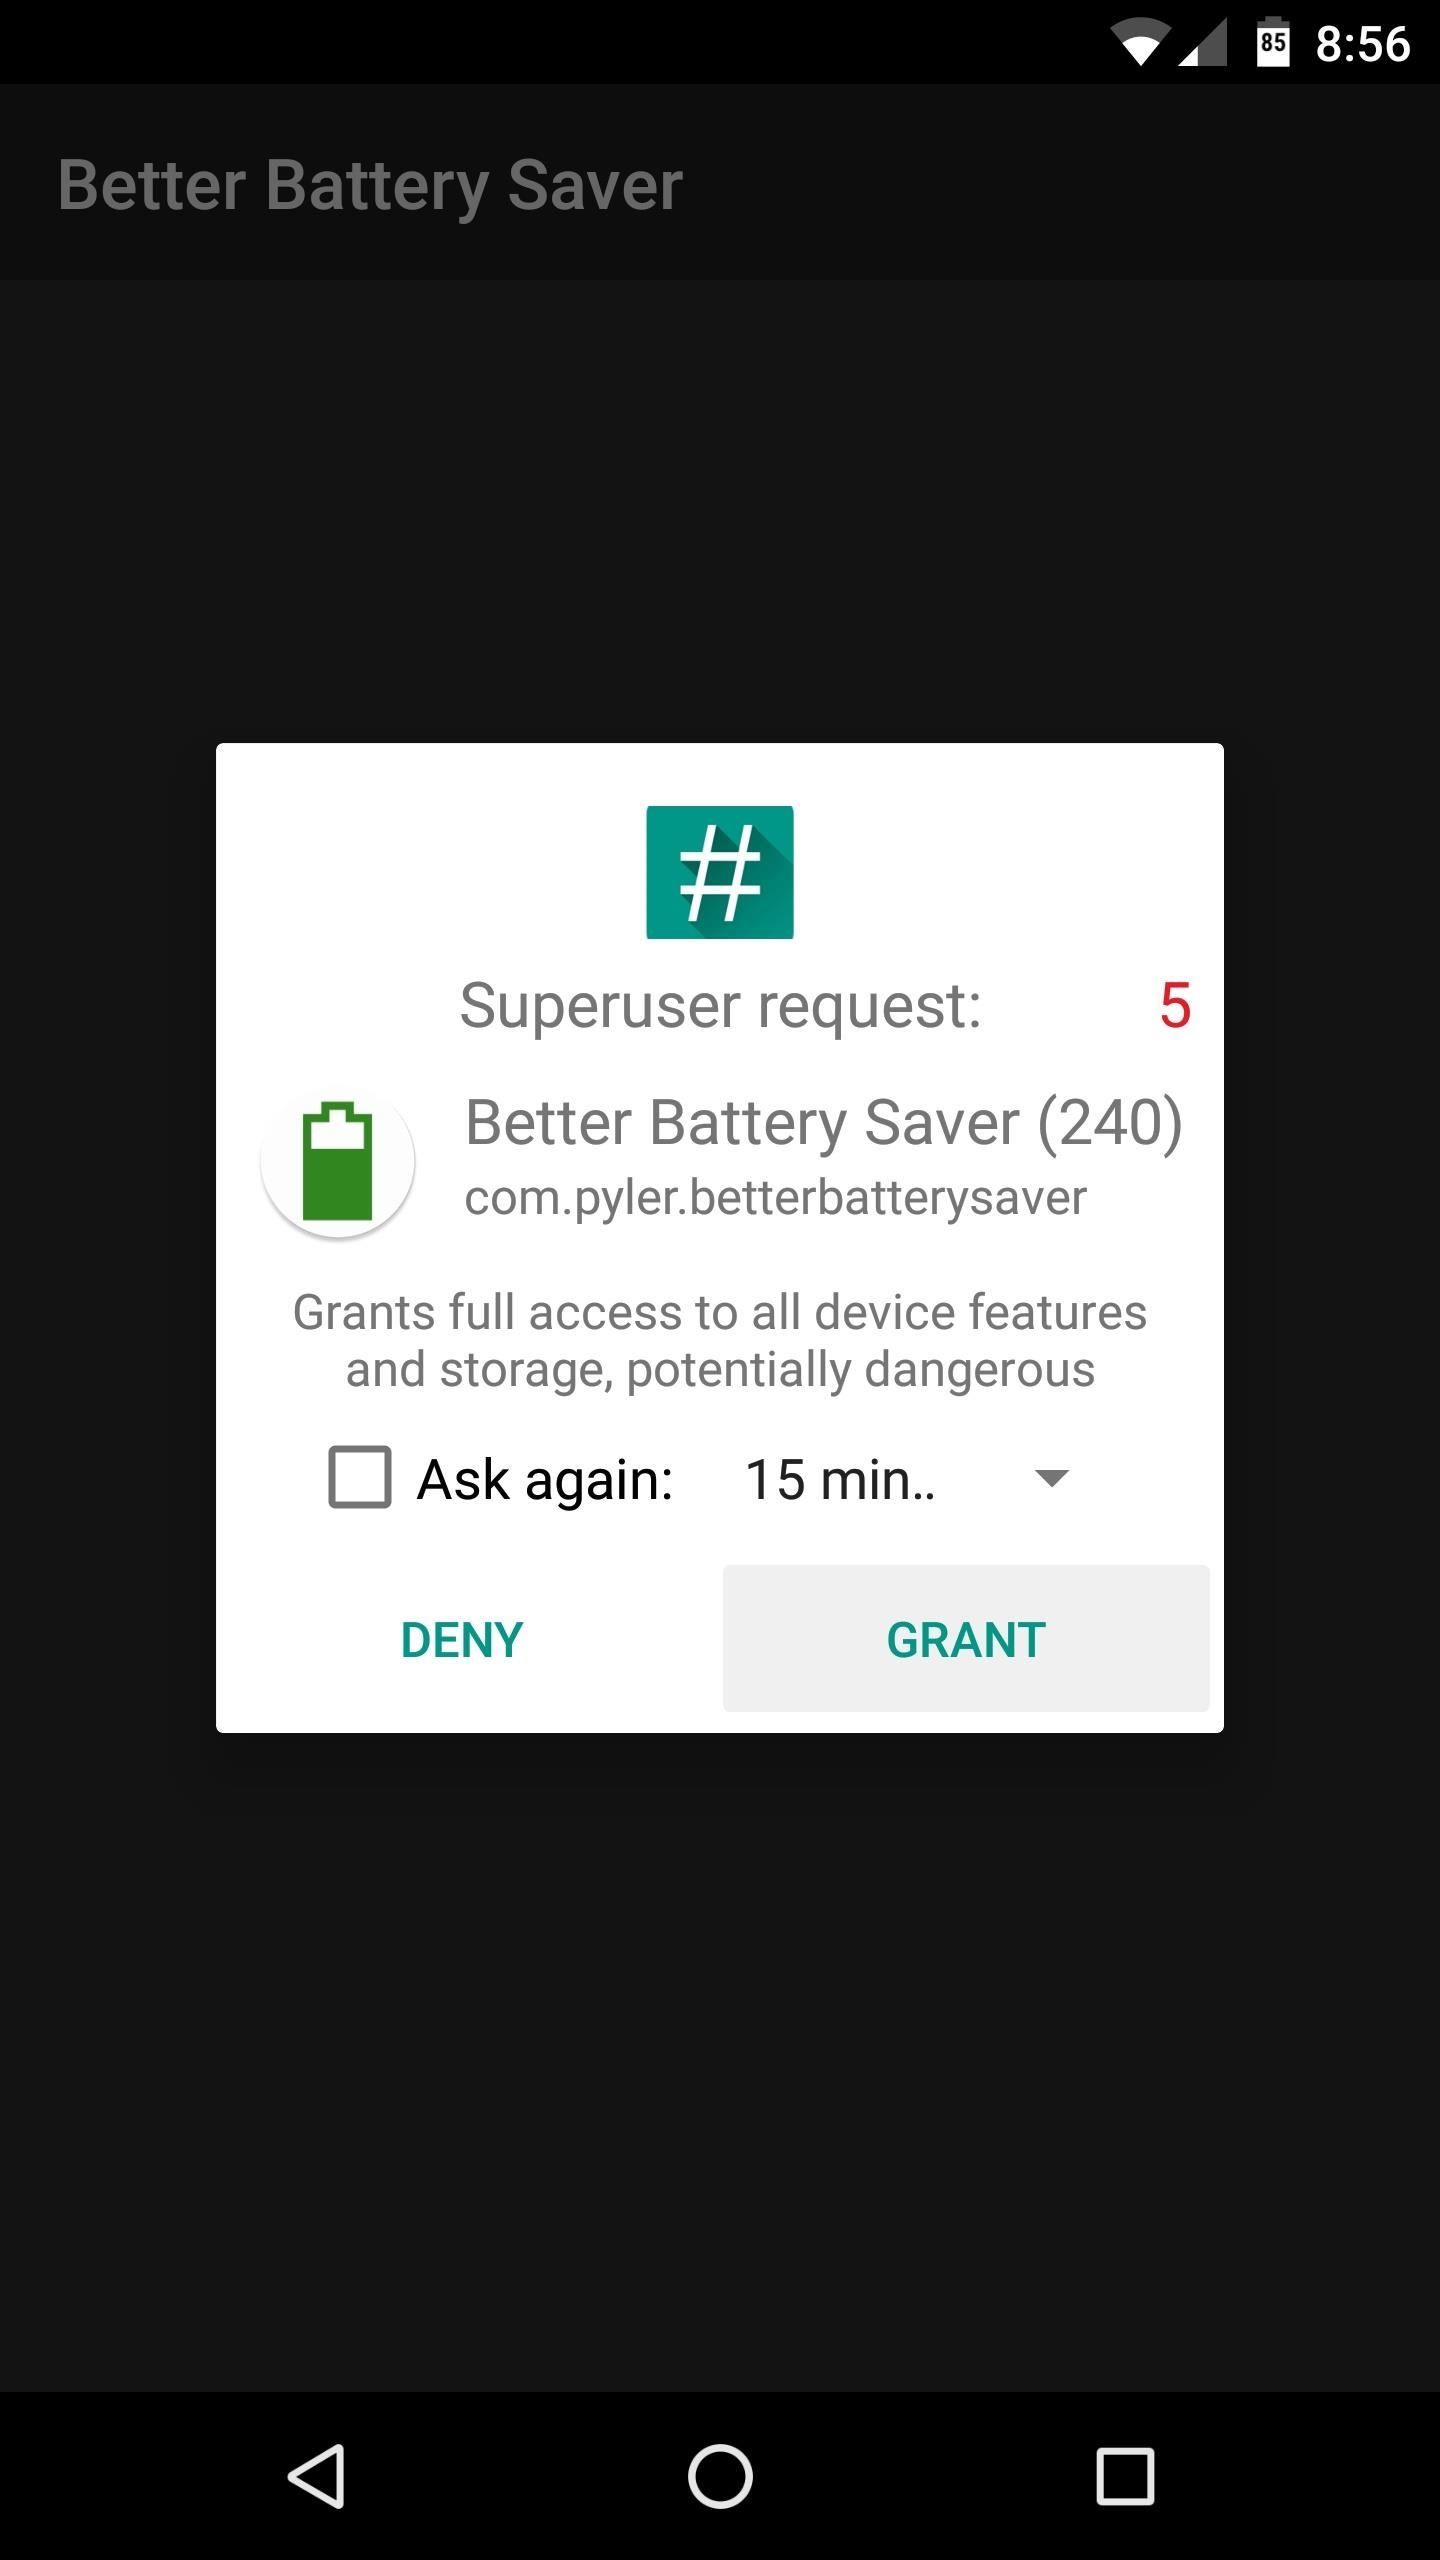
Step 2: Grant Root Access & Review Battery-Saving OptionsWhen you get back up, go ahead and launch Better Battery Saver. The app will ask for Superuser access at this point, so tap "Grant" on the popup. From here, familiarize yourself with the entries on the main menu, as there are lots of settings to tweak, and I'll be covering each section individually.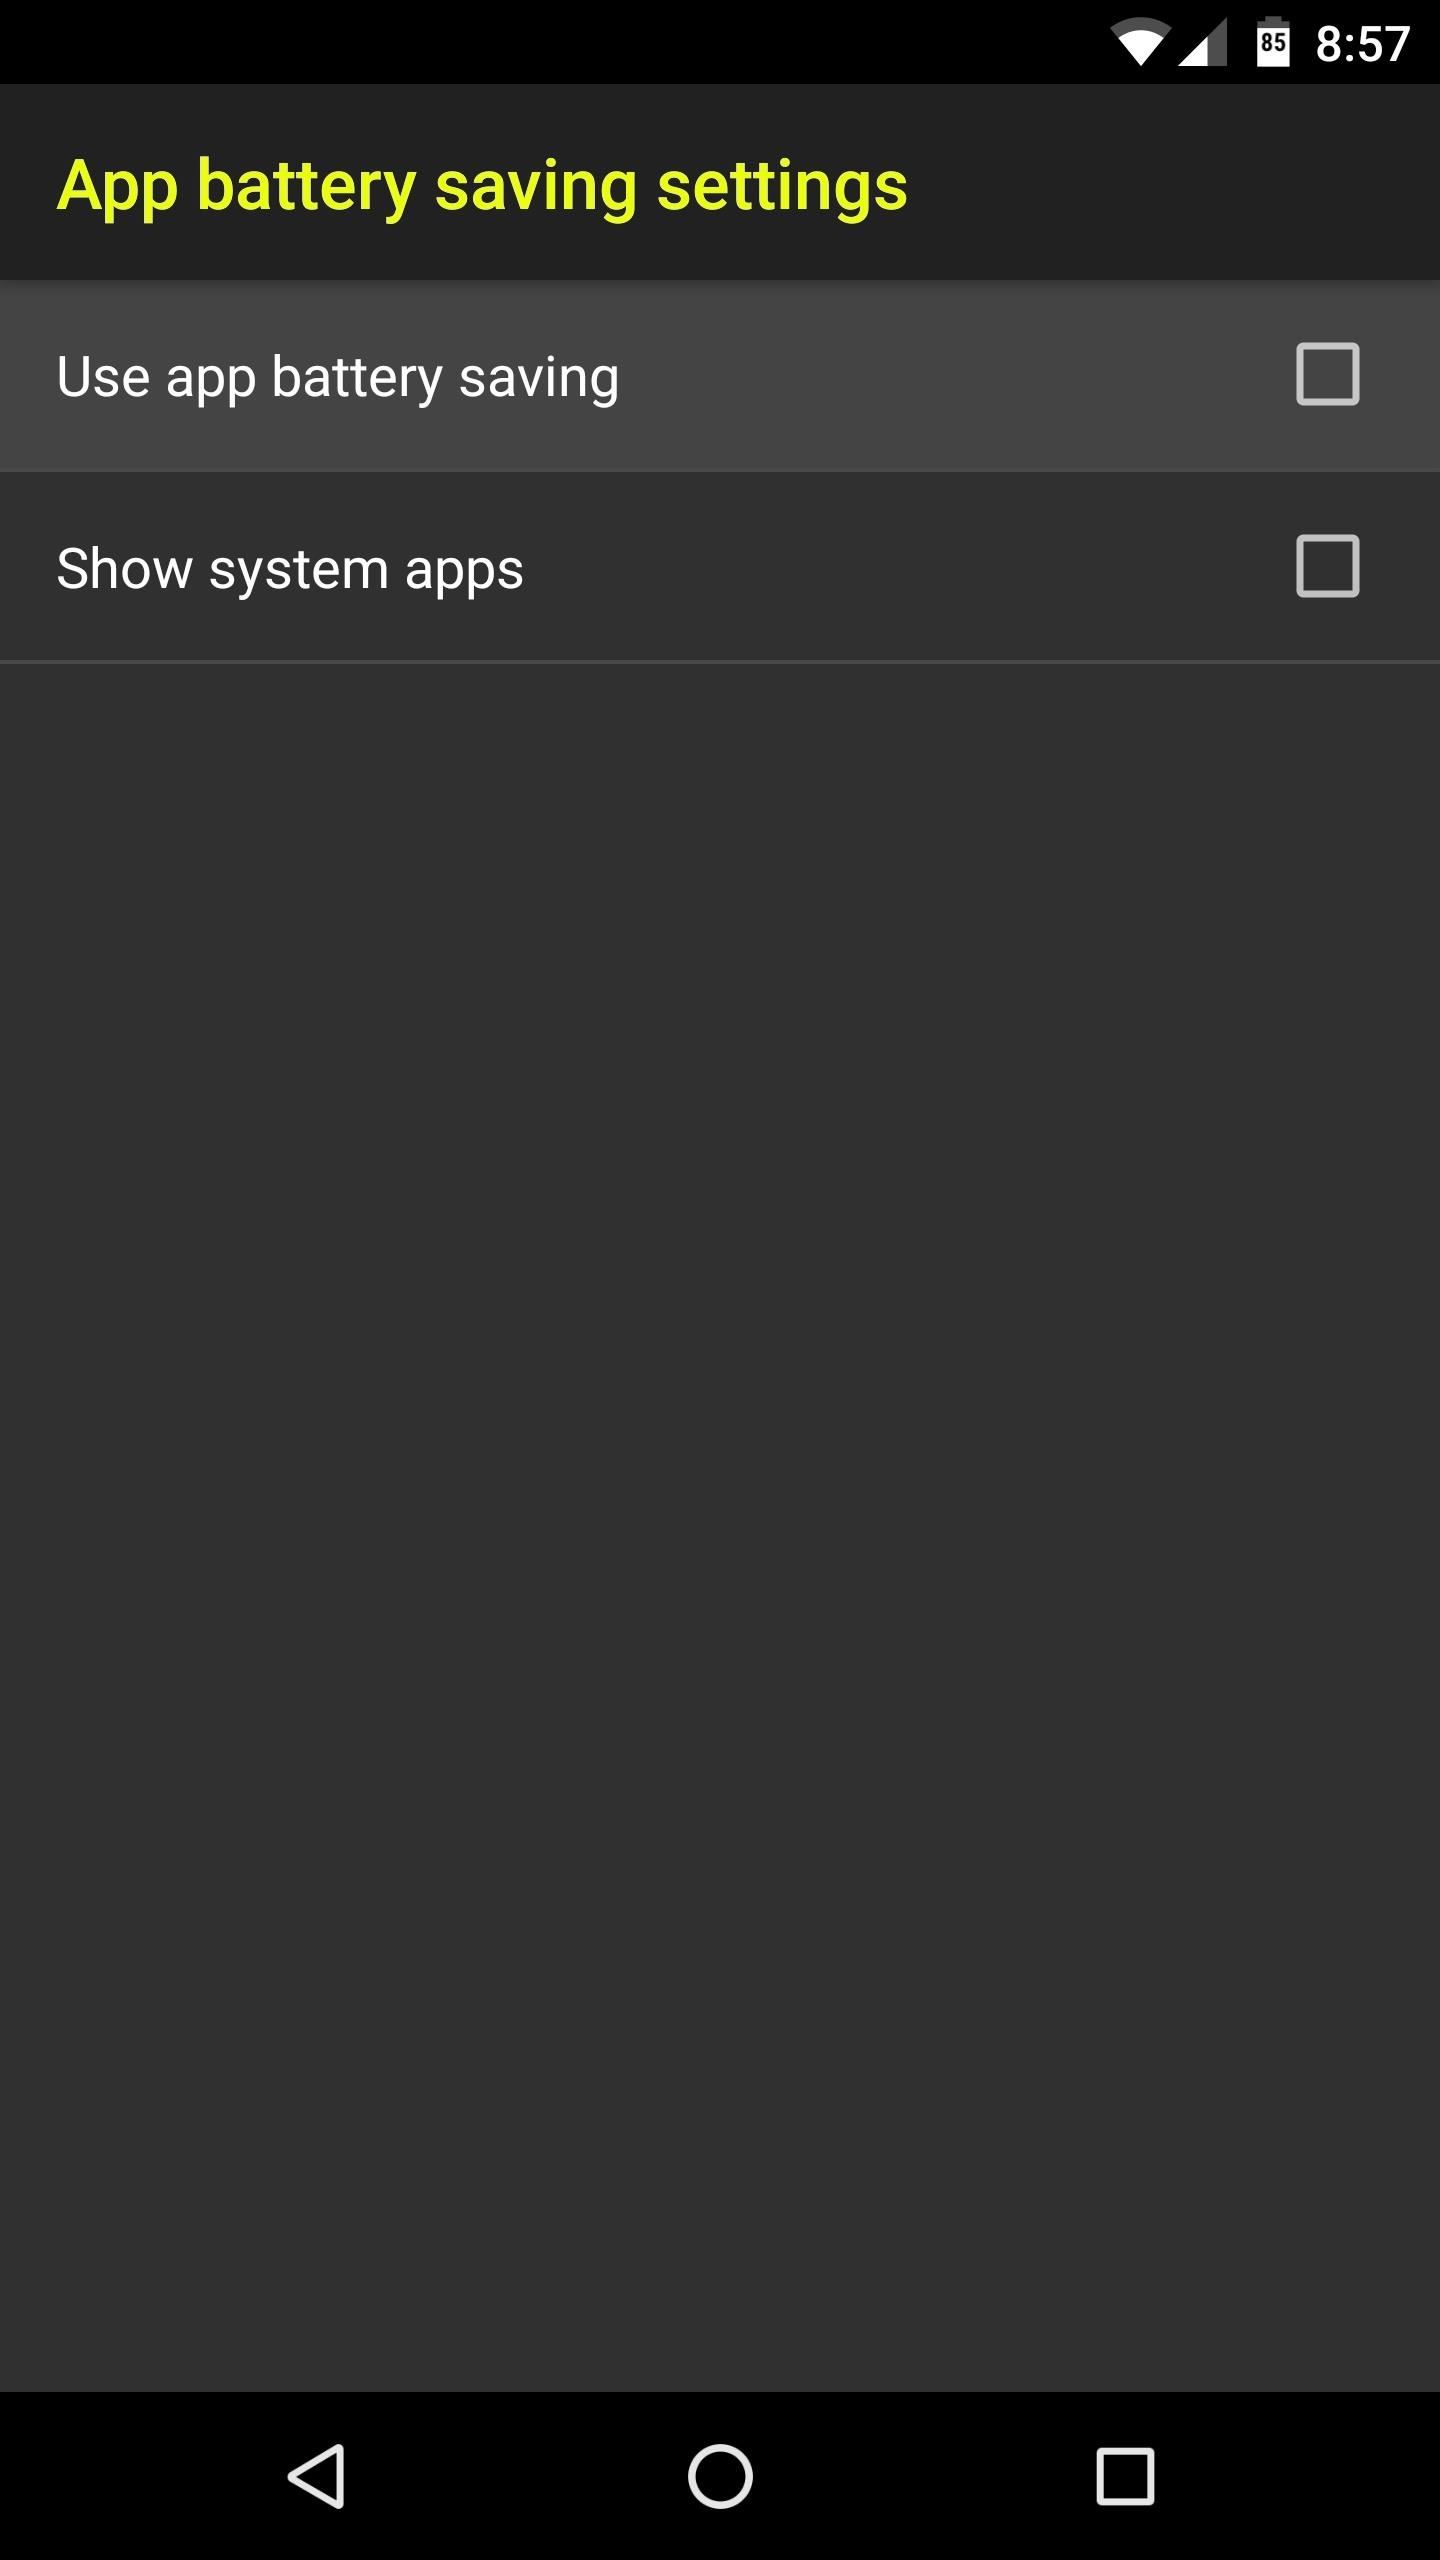
Step 3: Adjust Per-App Battery Saving SettingsIf you'd like to enable a battery-saving mode on a per-app basis, head to App battery saving settings. From here, tick the box next to "Use app battery saving," then you'll see a list of all your installed apps. You can also enable the "Show system apps" option, but I wouldn't recommend this, because the tweaks you'll be making could break some core functionality. Either way you go, start by selecting any app in the list. Next up, enable the "Battery saving" option at the top of the screen. From here, use the Battery level threshold slider to set a percentage where the battery-saving tweaks will become active. Beyond that, simply go through the list and enable any battery-saving setting that you'd like to apply when this app is active and your battery level is below the threshold. Depending on the app, some features could break some functionality, so use your best judgement. If you have any issues, you can always come back later and deselect these options one-by-one to troubleshoot. When you're done there, you can repeat this same process for any other app on your phone. But there's a similar menu that we'll get to later which can apply most of these settings system-wide, so keep that in mind.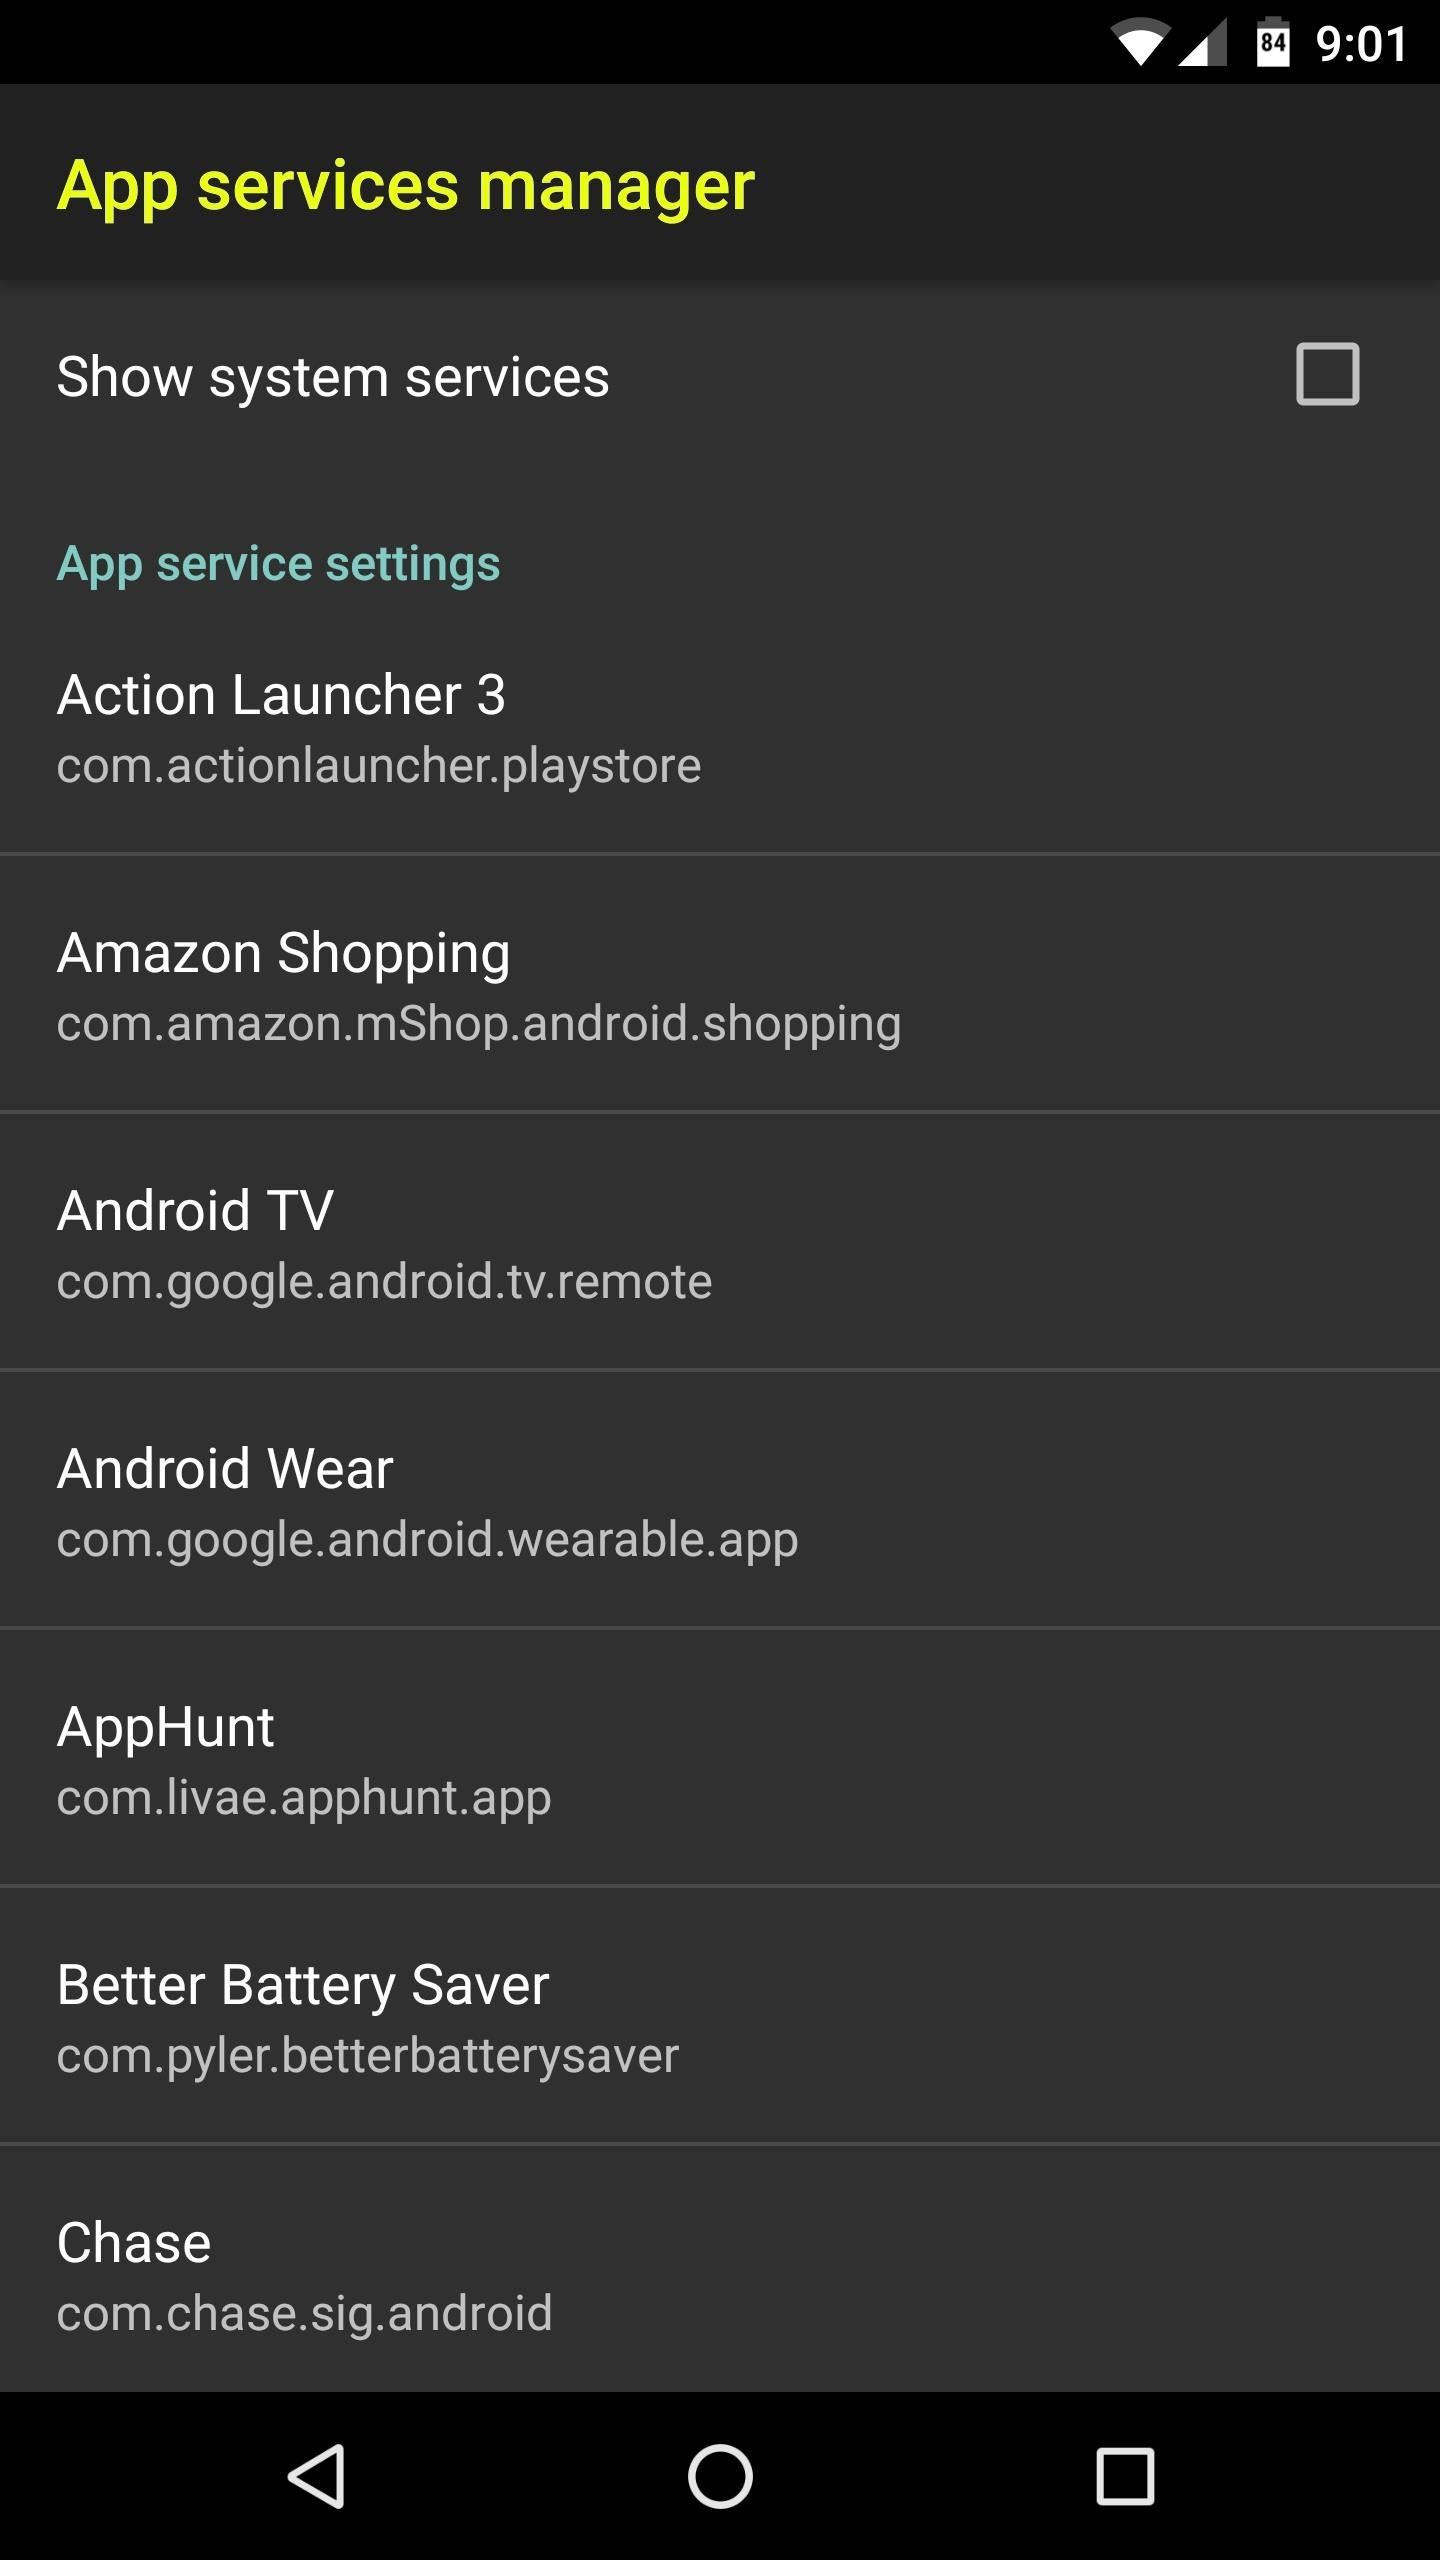
Step 4: Disable App ServicesAfter that, you'll have a chance to disable services for any of your apps, which could lead to some significant battery gains. Services are what apps use to run tasks while you're not actively using them, and they help with things like background data sync and prompt notifications. However, if an app is using services you don't need, disabling them can save you lots of battery life, because the app won't be running in the background as often.To try this out, head to the App services manager menu, then select any app. From here, deselect any unwanted service, and that function will no longer be performed in the background. Try to keep track of the services you disable here, because if you experience any bugs with this app in the future, you might have to turn some of them back on.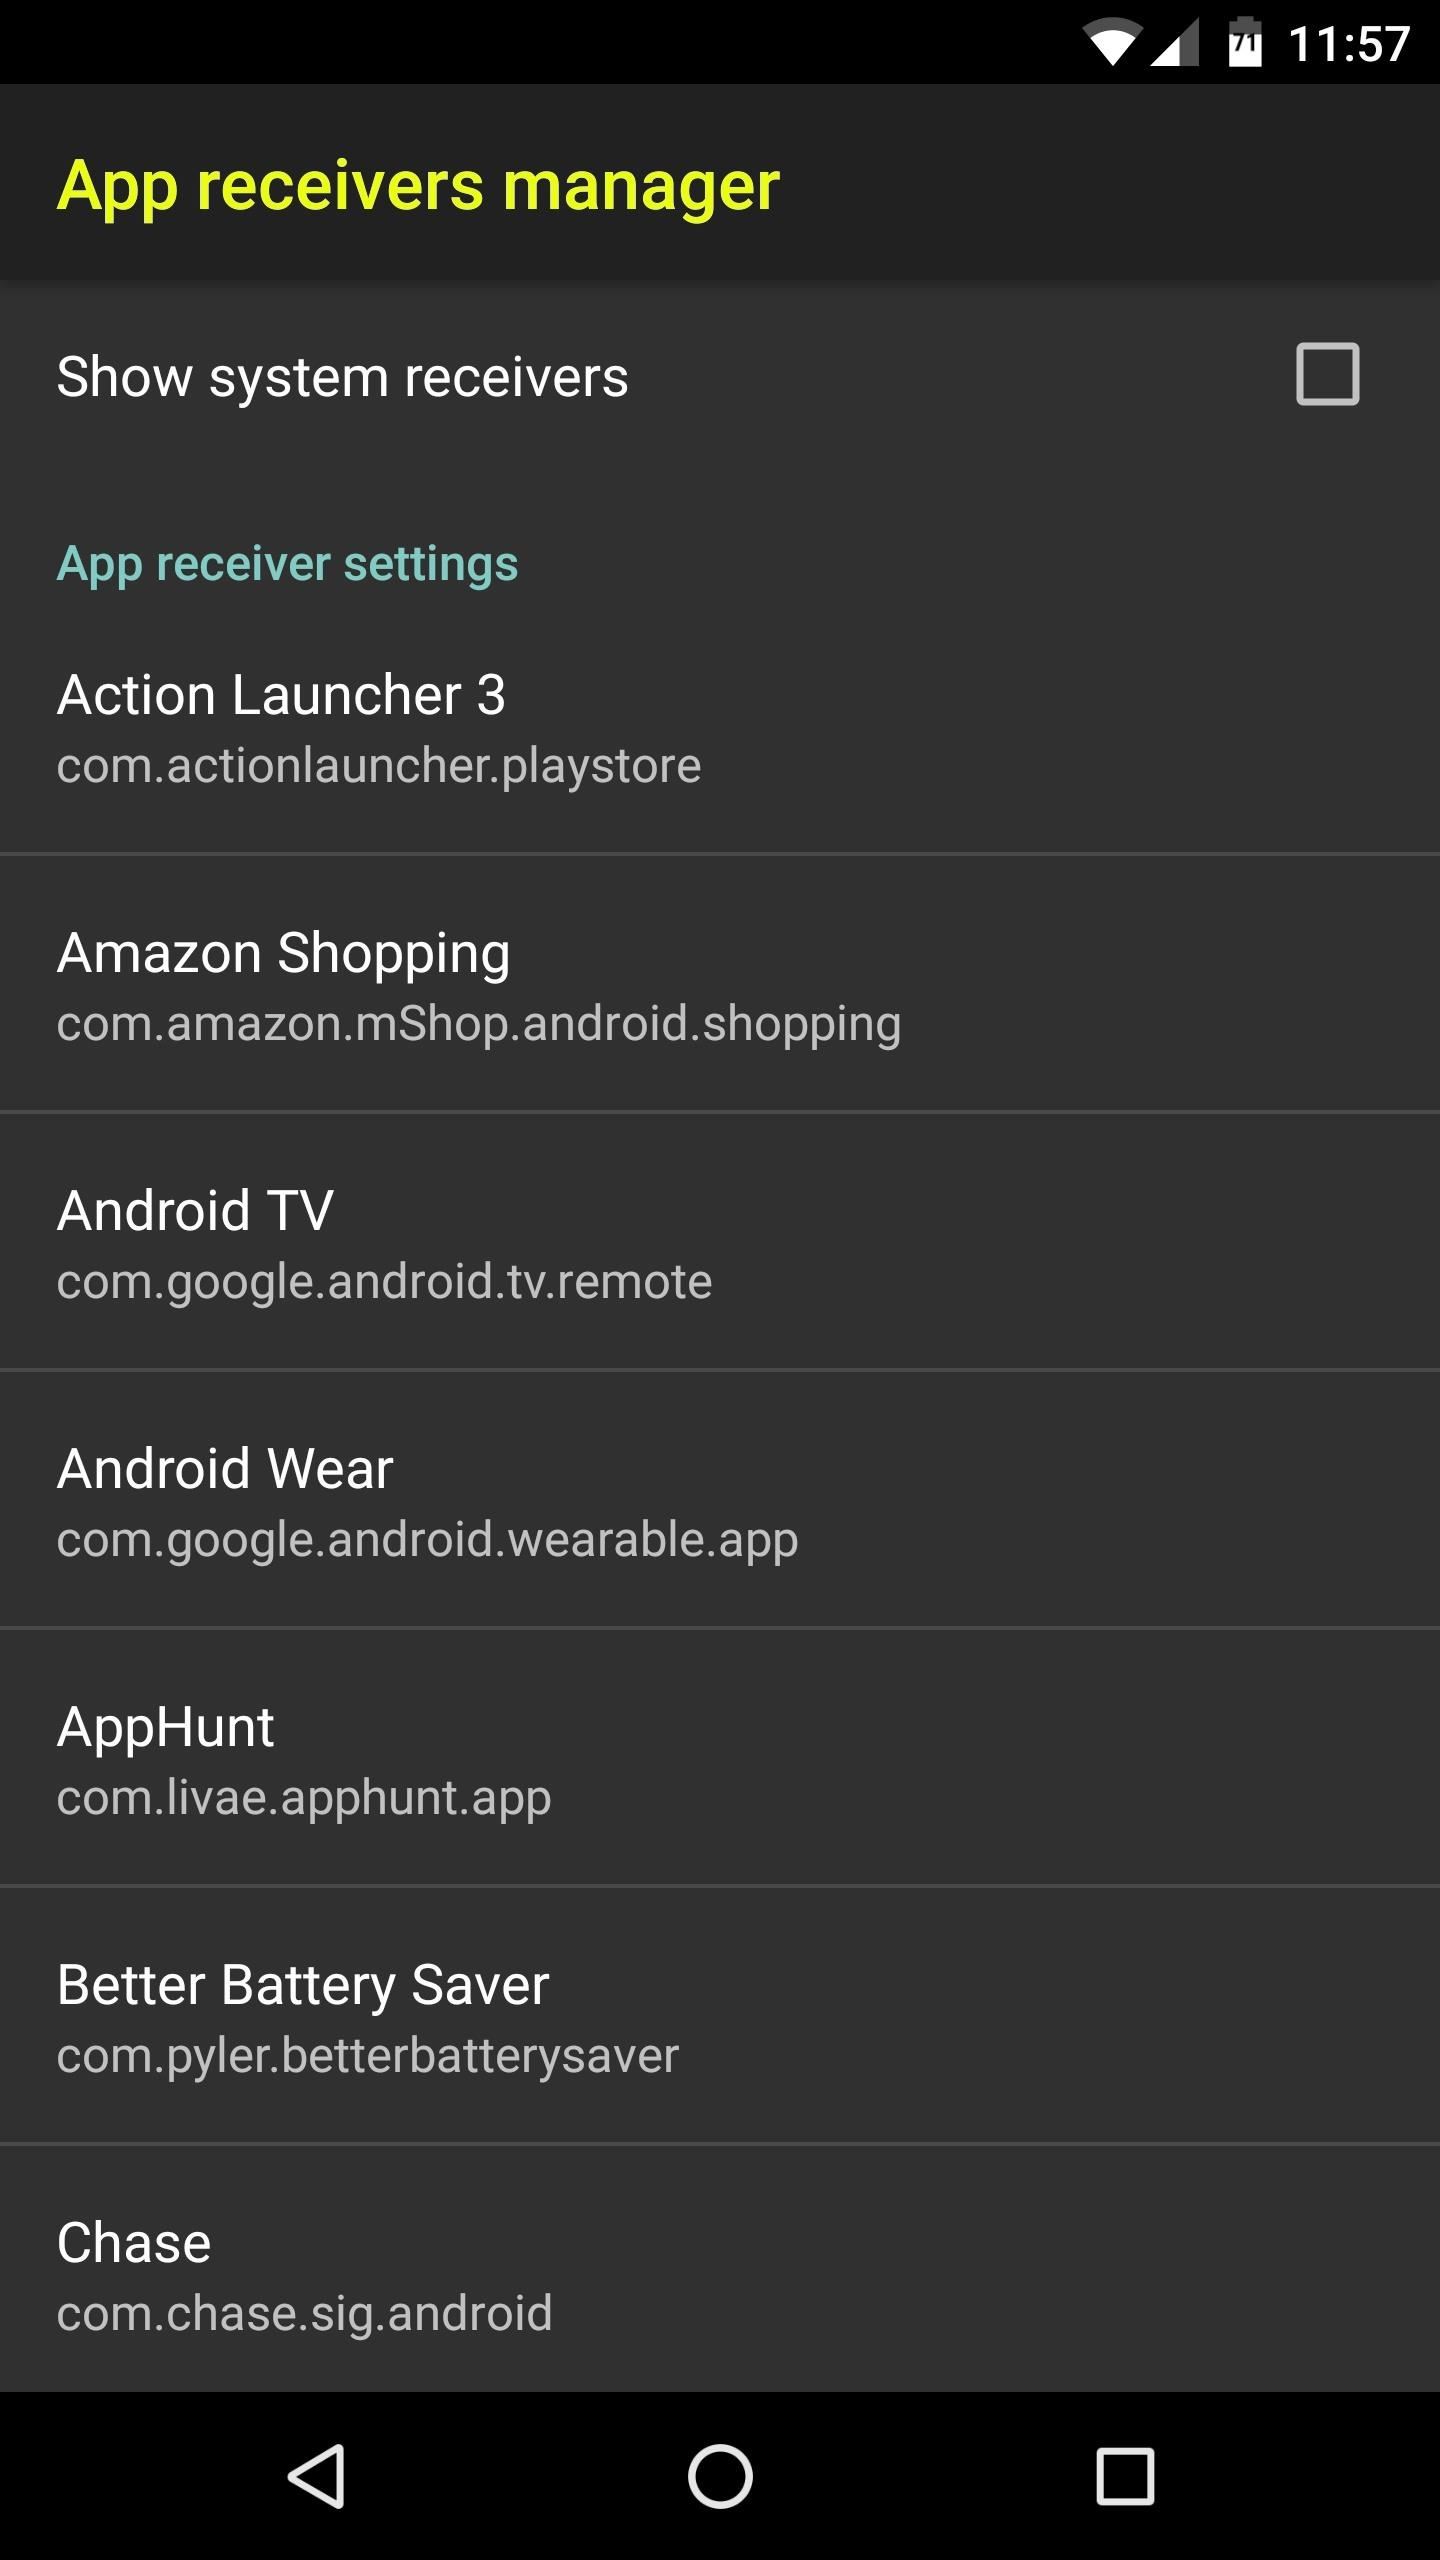
Step 5: Disable App ReceiversThis next section deals with broadcast receivers, which let apps receive information that is broadcast by the Android system. Think of this like the app asking Android, "Hey, let me know when you get a new text message, or if the device's location changes." Of course, each time the app receives this information, it has to wake from sleep to process it, which will drain some battery life.So to disable unwanted broadcast receivers, head to the Apps receivers manager section, then select any app from the list. From here, you can just untick the box next to any receiver, and the app will no longer force Android to give it an update on that front. But be careful, and make sure you understand the gist of each setting you disable here, because your apps might not function properly with certain receivers disabled.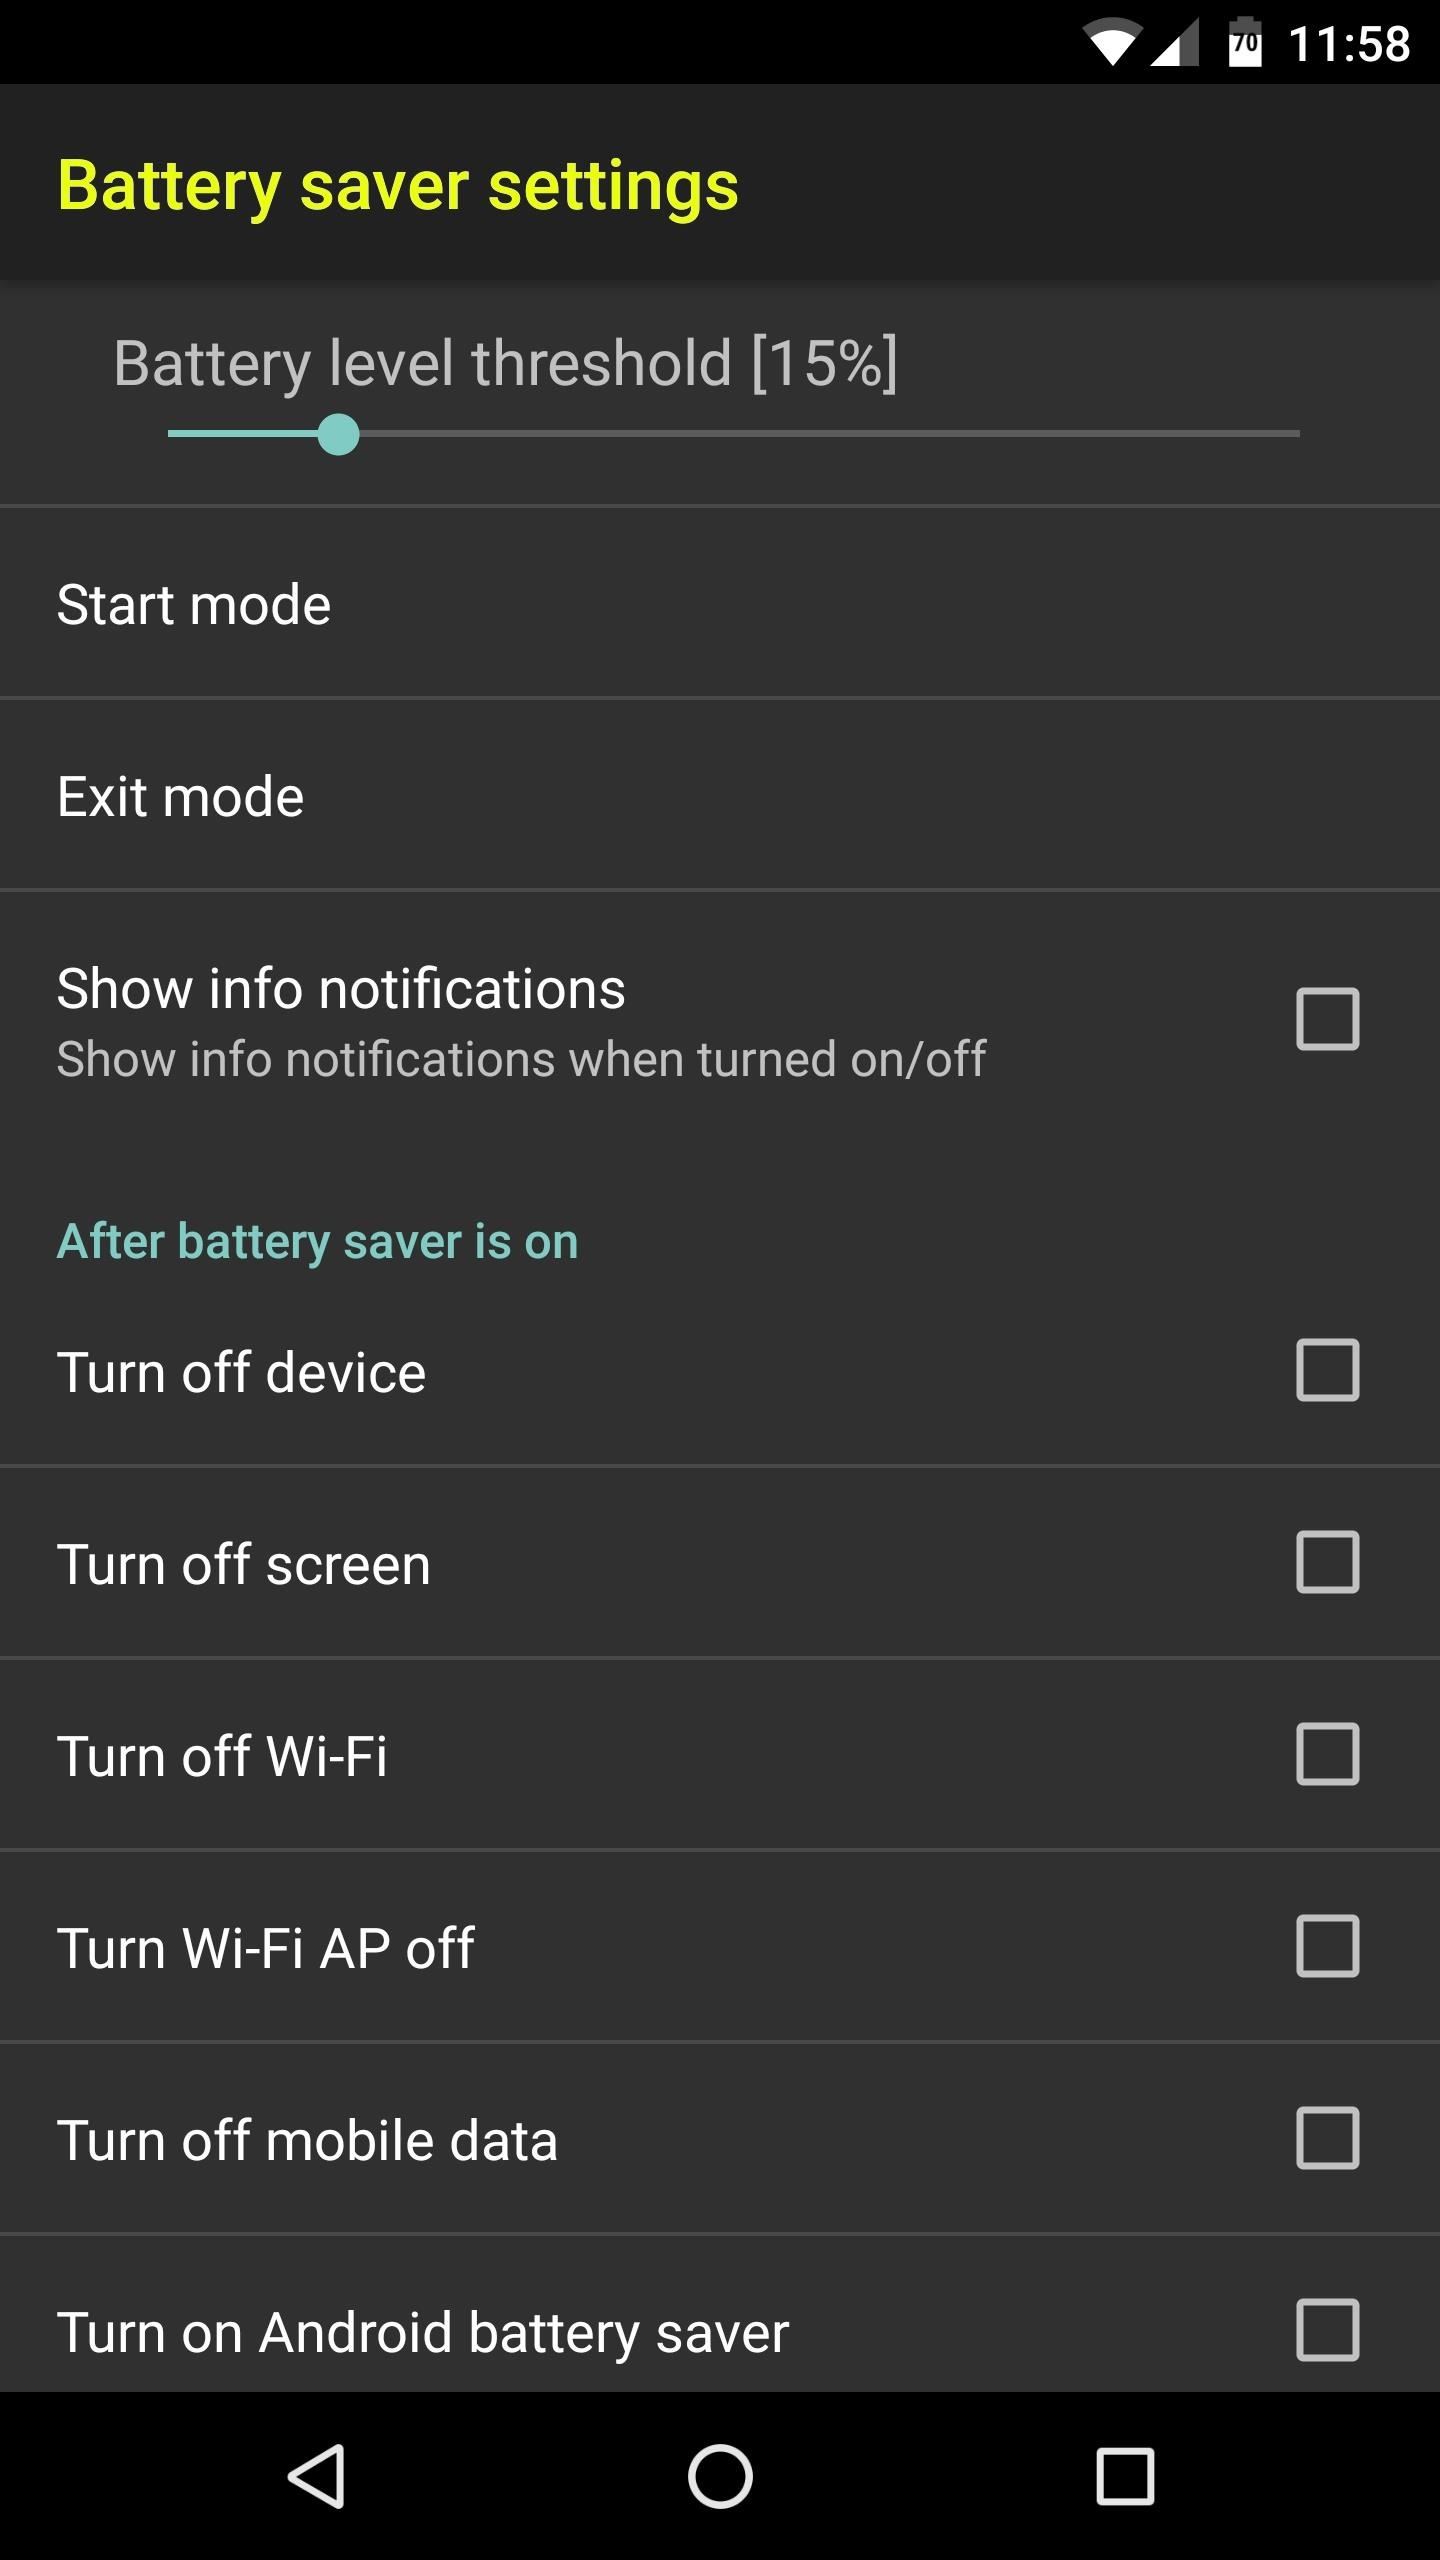
Step 6: Adjust System-Wide Battery Saving SettingsFinally, the Battery saver settings menu is a lot like App battery savings, except the changes you make in this menu will apply system-wide. So to begin, use the Battery level threshold slider to set the percentage where you would like these settings to kick in.From there, select the "Start mode" option, then you can batch-select options for enabling Battery saver mode. If you select "Automatically," these tweaks will be applied at the battery level threshold you set, whereas "From notification" can be used to enable the tweaks manually, and "Parallel with Android battery saver" will start when your system battery saver mode kicks in. But the most interesting option here is "Parallel with Doze mode," which will activate these options when your phone has been laying flat and still for a period of time, though this requires Android 6.0 or higher.Once you've done that, select the "Exit mode" option, then choose the same options that you chose for Start mode. This will ensure that the battery-saving features turn off automatically without any interaction from you. Next, scroll down a bit, then tick the boxes next to any of the options in the After battery saver is on category. There are several great battery-saving tweaks to choose from here, including the ability to disable connectivity radios like Wi-Fi and Bluetooth. But the best feature here, in my opinion, is "Turn on Doze." This will force-enable Android's best battery-saving utility, though you'll need to be running Marshmallow or higher to use it.Once you've done that, scroll down a bit further, then you'll see a section labeled After battery saver is off. Go through each of these settings, and make sure to tick the boxes next to every setting you enabled under After battery saver is on. That way, when your battery is charged up again, everything will go back to normal automatically. With everything set up now, you should start to notice some significant gains in battery life—particularly when your battery level is low. Depending on how you set things up, these aggressive battery-saving measures will kick in around 15%, so that last bit of juice should last you quite a while.Follow Gadget Hacks on Facebook, Twitter, Google+, and YouTube Follow Android Hacks on Facebook, Twitter, and Pinterest Follow WonderHowTo on Facebook, Twitter, Pinterest, and Google+
Cover photo and screenshots by Dallas Thomas/Gadget Hacks
Get Back on Track. Change can be hard. In the beginning, your healthy habits might take two steps forward and one step back. Anticipating those backwards steps can make all the difference in the world. Develop a plan for getting back on track and recommit to your routine as quickly as possible. P.S.
How To Get Your Relationship Back on Track - womansday.com
These options can be helpful, but they're no substitute for truly taming the clutter. Organize Your Files and Shortcuts Into Folders. Consider using folders to keep your desktop organized. To create a folder, right-click the desktop, select New > Folder, and give the folder a name. Drag and drop items from your desktop into the folder.
What does a cluttered desktop mean? - Freewaregenius.com
After months of waiting, it looks like HMD has finally answered the call. Nokia's parent company is finally releasing a true flagship phone — one that isn't just an enhanced version of a previous phone and actually brings something new to the table. That phone is the Nokia 9 PureView. The Nokia 9 PureView has […]
Meet the Nokia 9 PureView — the Pixel 3 XL You Wanted - L.B.C.C
Gmail note is yet another unique feature, which comes in handy with Gmail. Basically, Gmail note is used to create a record of each and every conversation in your inbox, and it also add labels or filter to your message. Just have a glance at this article to know how to add notes in Gmail. Steps to add notes in Gmail:
Notes for Gmail Adds Sticky Notes to Your Messages | PCWorld
10 Things You Need to Know About Microsoft's Edge Browser in
How to Calibrate the Colors of Your Pixel 2's Display with
However, it should be noted that Apple only stores this location for 24 hours since it was sent to its servers, so you have to act fast. If you lost your iPhone and see a message like "Offline," "No location available," or "Location Services Off" for the device in Find My iPhone, it may have passed the 24-hour mark.
This setting makes it easier to find your iPhone when it's
In this tutorial, I'll be showing you how to peacefully fall asleep using Music Timer, aka SleepyTunes, a free Android application that will gradually lower your device's volume based on a time
How to Pause & Play Music Faster Using the Volume Buttons on
6 Tips for getting better sounding music out of your Galaxy S or Note October 27, 2015 • galaxy smartphone • headphones • quick tips If you're reading this article, you're probably looking to get the best possible sound quality for your music.
How to make your headphones sound better than ever - CNET
In April, I wrote an article on TechRepublic about how to create a bootable USB to install OS X. The latest iteration of OS X, version 10.9 (aka Mavericks), marks not only 200+ changes in the OS
Make a Bootable Flash Installer of OS X or macOS - Lifewire
To speed up browsing or protect your history, you can easily clean out the temporary internet files on your browser. To do so from the browser, press the Menu key and choose options. Select Cache Operations and you will be able to clear the browser items
How to clear temporary internet files on BlackBerry 5 - YouTube
0 comments:
Post a Comment